Last updated on
Loaded Chili Cheese Fries
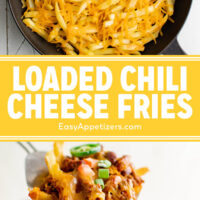


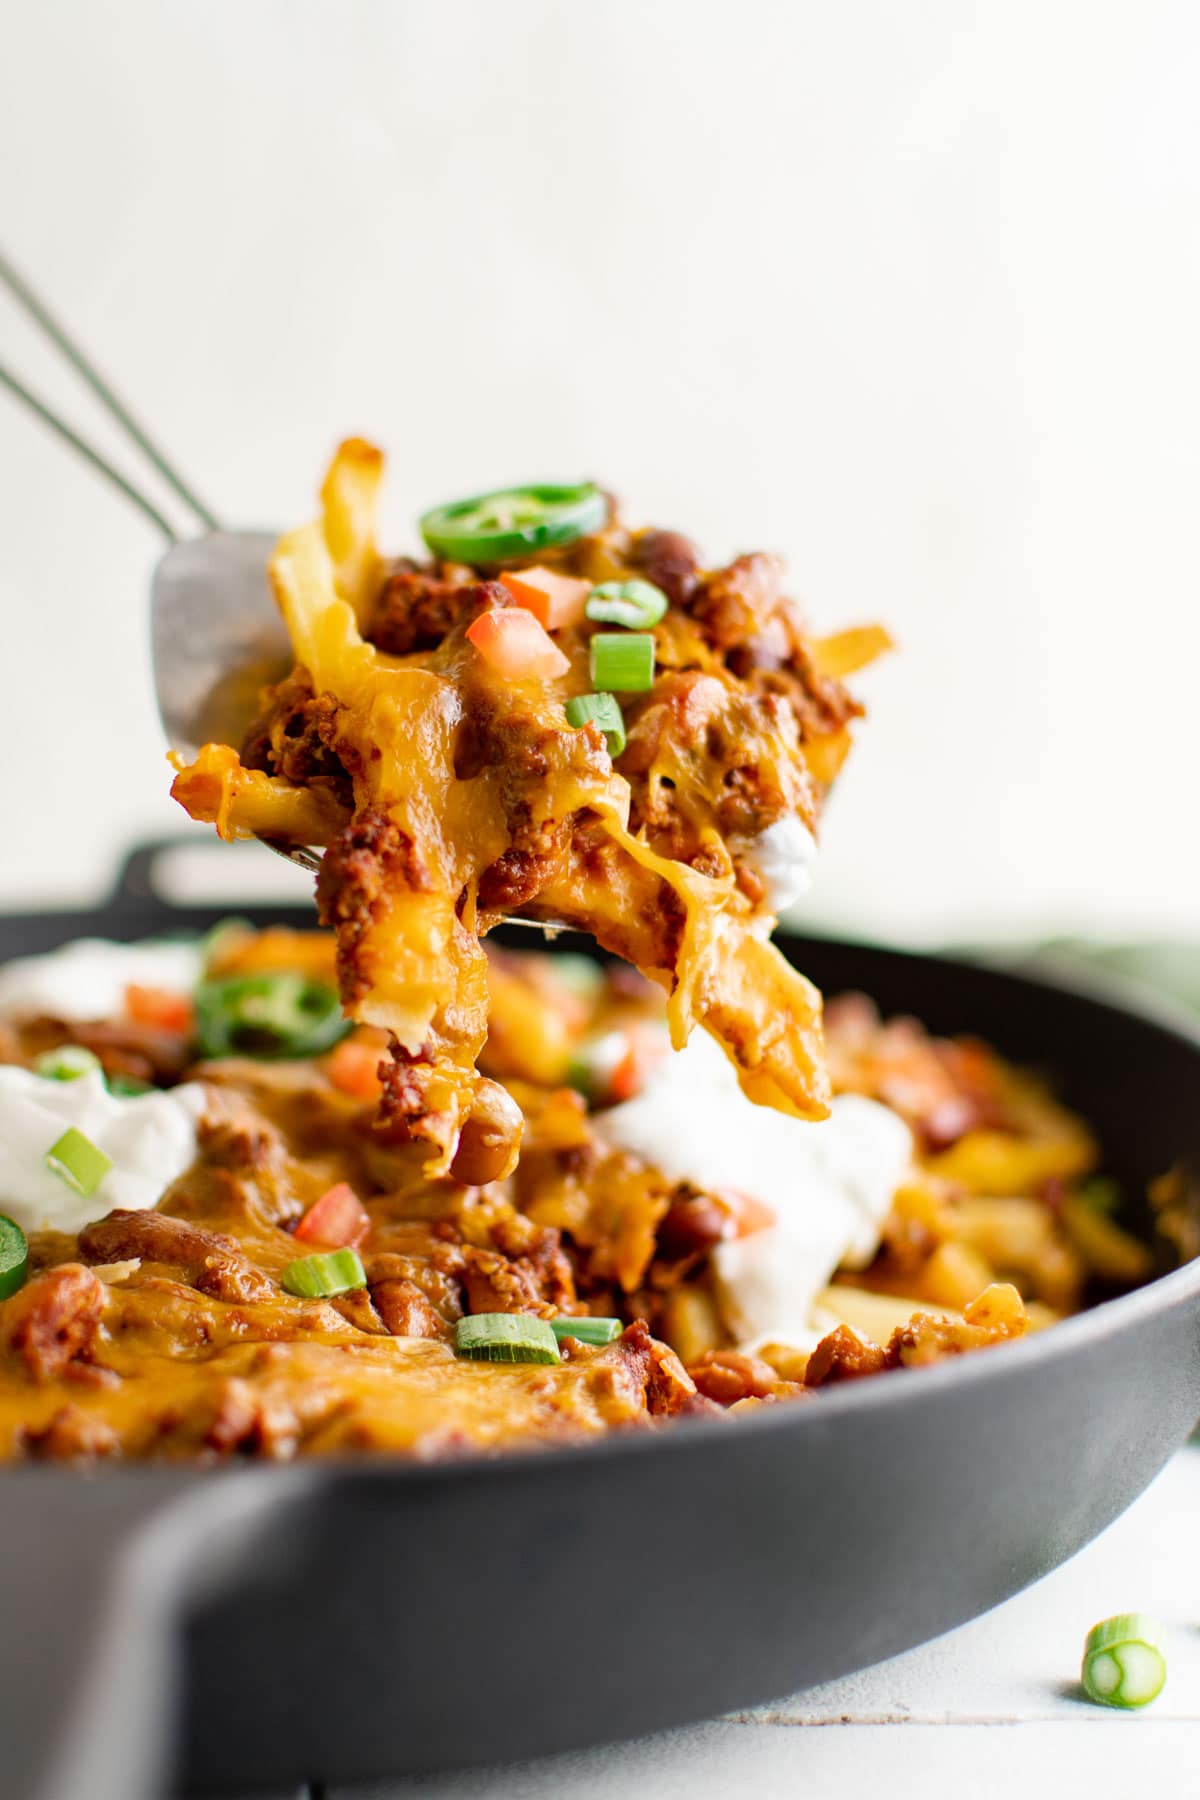
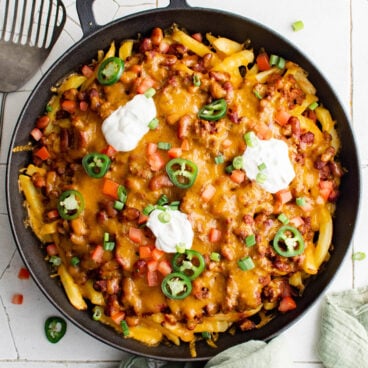
Just like your favorite diner, these Loaded Chili Cheese Fries are packed to the brim with spicy, meaty, cheesy goodness. Take a bag of frozen french fries and pile on the cheese, homemade chili, and toppings of your choice for a quick, 15-minute meal that’s sure to quash even the biggest hunger.
Chili cheese fries are perfect for sharing (or for keeping all to yourself) at game day parties or for that late night craving.

Table of Contents
Why We Love This Recipe
- Quick & Easy – With a quick homemade chili and frozen fries, these delicious chili cheese fries come together in about 30 minutes.
- Easily Customizable – Add all your favorite nacho toppings!
- Budget-Friendly – You can use a heat up a couple cans of your favorite store bought chili for a more budget friendly option.
Ingredients For Loaded Chili Cheese Fries
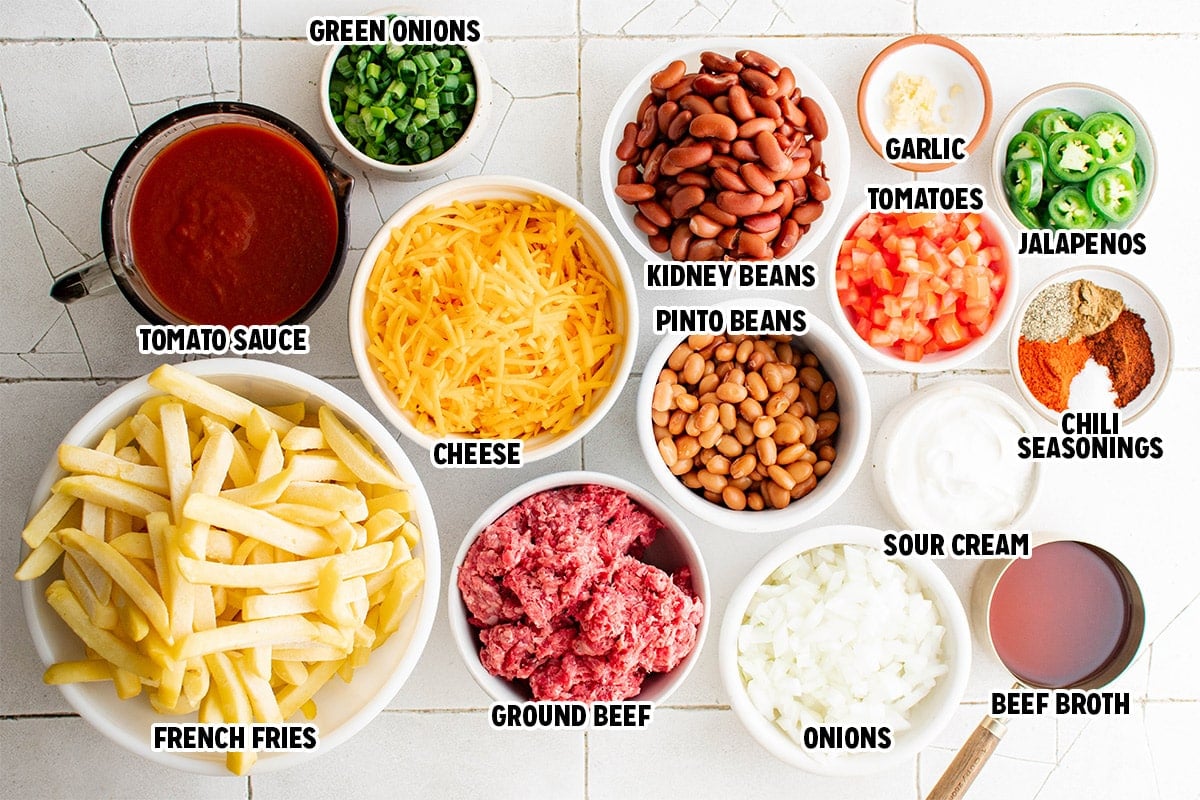
“Loaded fries” takes on a whole new meaning in this chili cheese fries recipe. Yes, you have chili and cheese, but then you get to add on a bevy of tasty toppings to take these totally over the top! Here’s what to grab:
- Frozen French Fries – Use any shape your heart desires: waffle, wavy, steak fries, or regular!
- Cheddar Cheese – Make sure you grate your own cheese here. The pre-grated kind is coated with starch to keep it from clumping together, so it doesn’t melt very well.
- Chili – Feel free to make the homemade chili recipe on the recipe card below, swap in your favorite recipe, or simply use store-bought.
- Toppings of Choice – I used sour cream, sliced green onions, diced tomatoes, and sliced jalapeños for a nacho vibe.
How To Make Chili Cheese Fries
Be sure to check the recipe card below for full ingredients & instructions.
Making homemade chili cheese fries is easier than you might expect! Here’s how it’s done:
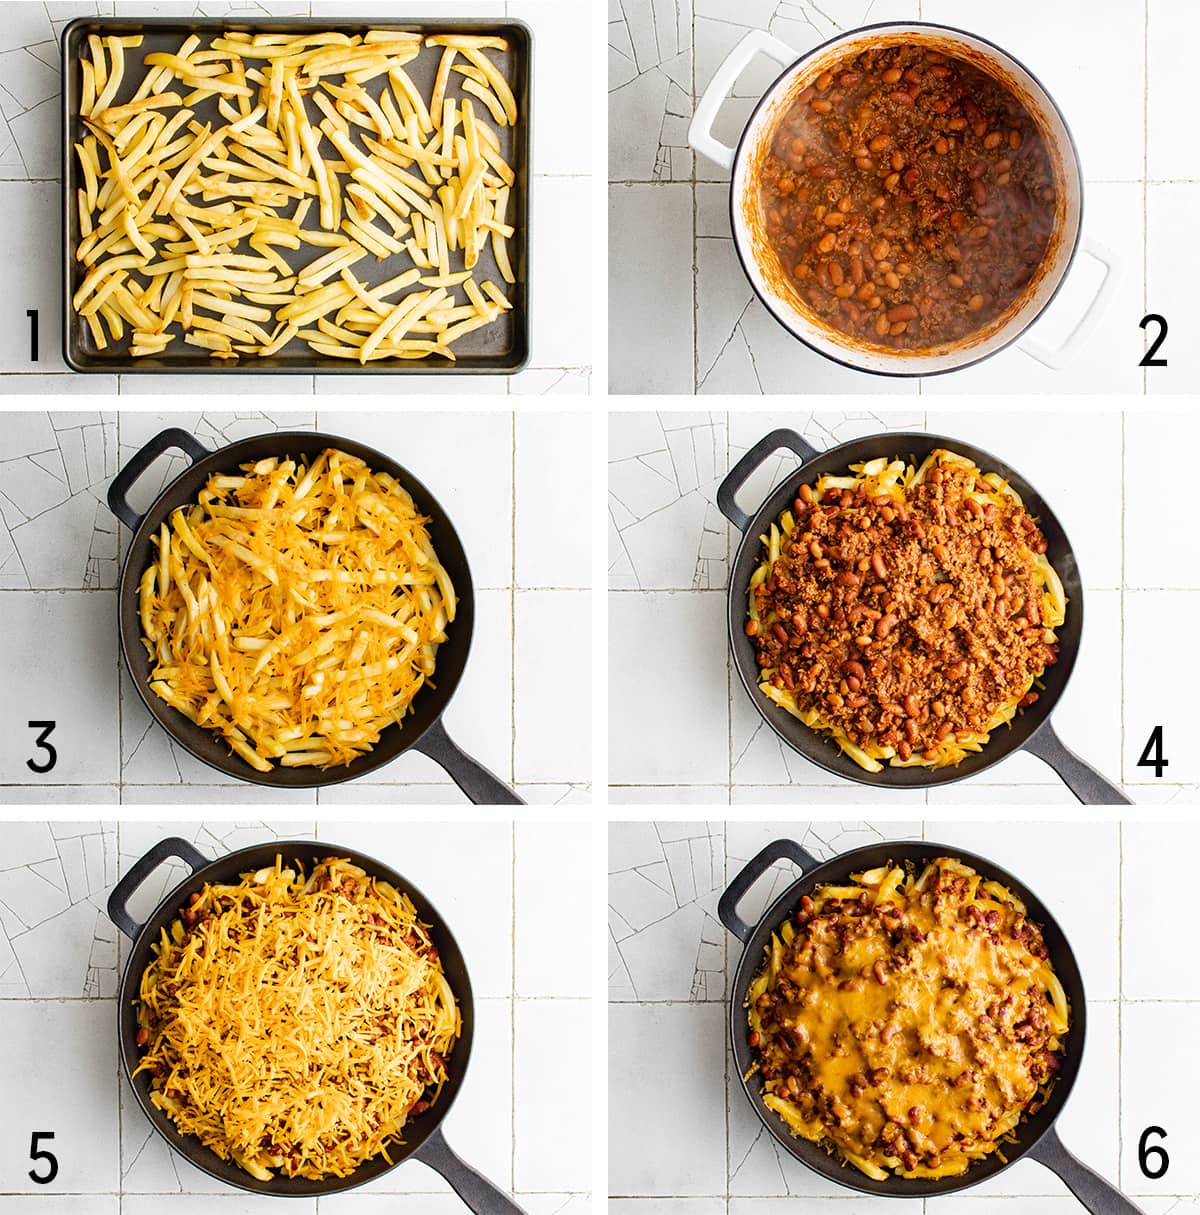
- Bake French Fries according to package directions, then season fries with salt, and set aside. *Note – for crispy fries, bake directly on the metal baking sheet.
- Make or Heat Chili. Instructions for making homemade chili are included in the recipe card if needed.
- Add Cheese. Line a baking sheet with parchment paper. Arrange the fries on the baking sheet and sprinkle with 1 cup of cheese. Bake for 2-5 minutes, just until the cheese is melted.
- Add Chili. Using a slotted spoon to drain any excess liquid, spoon chili onto the cheese fries. Top with remaining cheese and bake until the cheese is melted. *Note – use as much or as little chili as you like and save the rest for another time.
- Garnish & Serve. Top with your choice of garnishes then serve immediately. Have fun watching your guests devour them!
FAQs
What are the best kind of fries for making chili fries?
Since taste is totally subjective, that’s up to you! Try thin and crispy, crinkle-cut, or waffle fries to start.
What makes these “loaded” cheese fries?
The term “loaded” refers to the multitude of toppings you put on. A loaded baked potato, for instance, would have butter, sour cream, bacon bits, and chives. These are loaded chili cheese fries because in addition to chili and cheese, we’ve loaded them up with even more flavorful goodies like tomatoes, peppers, sour cream, and scallions!
How To Serve
These loaded fries are honestly enough for a meal unto themselves, but they also pair beautifully with any game-day favorites like wings, chicken nuggets, or jalapeño poppers. If you’re serving them to a crowd, you have a few options:
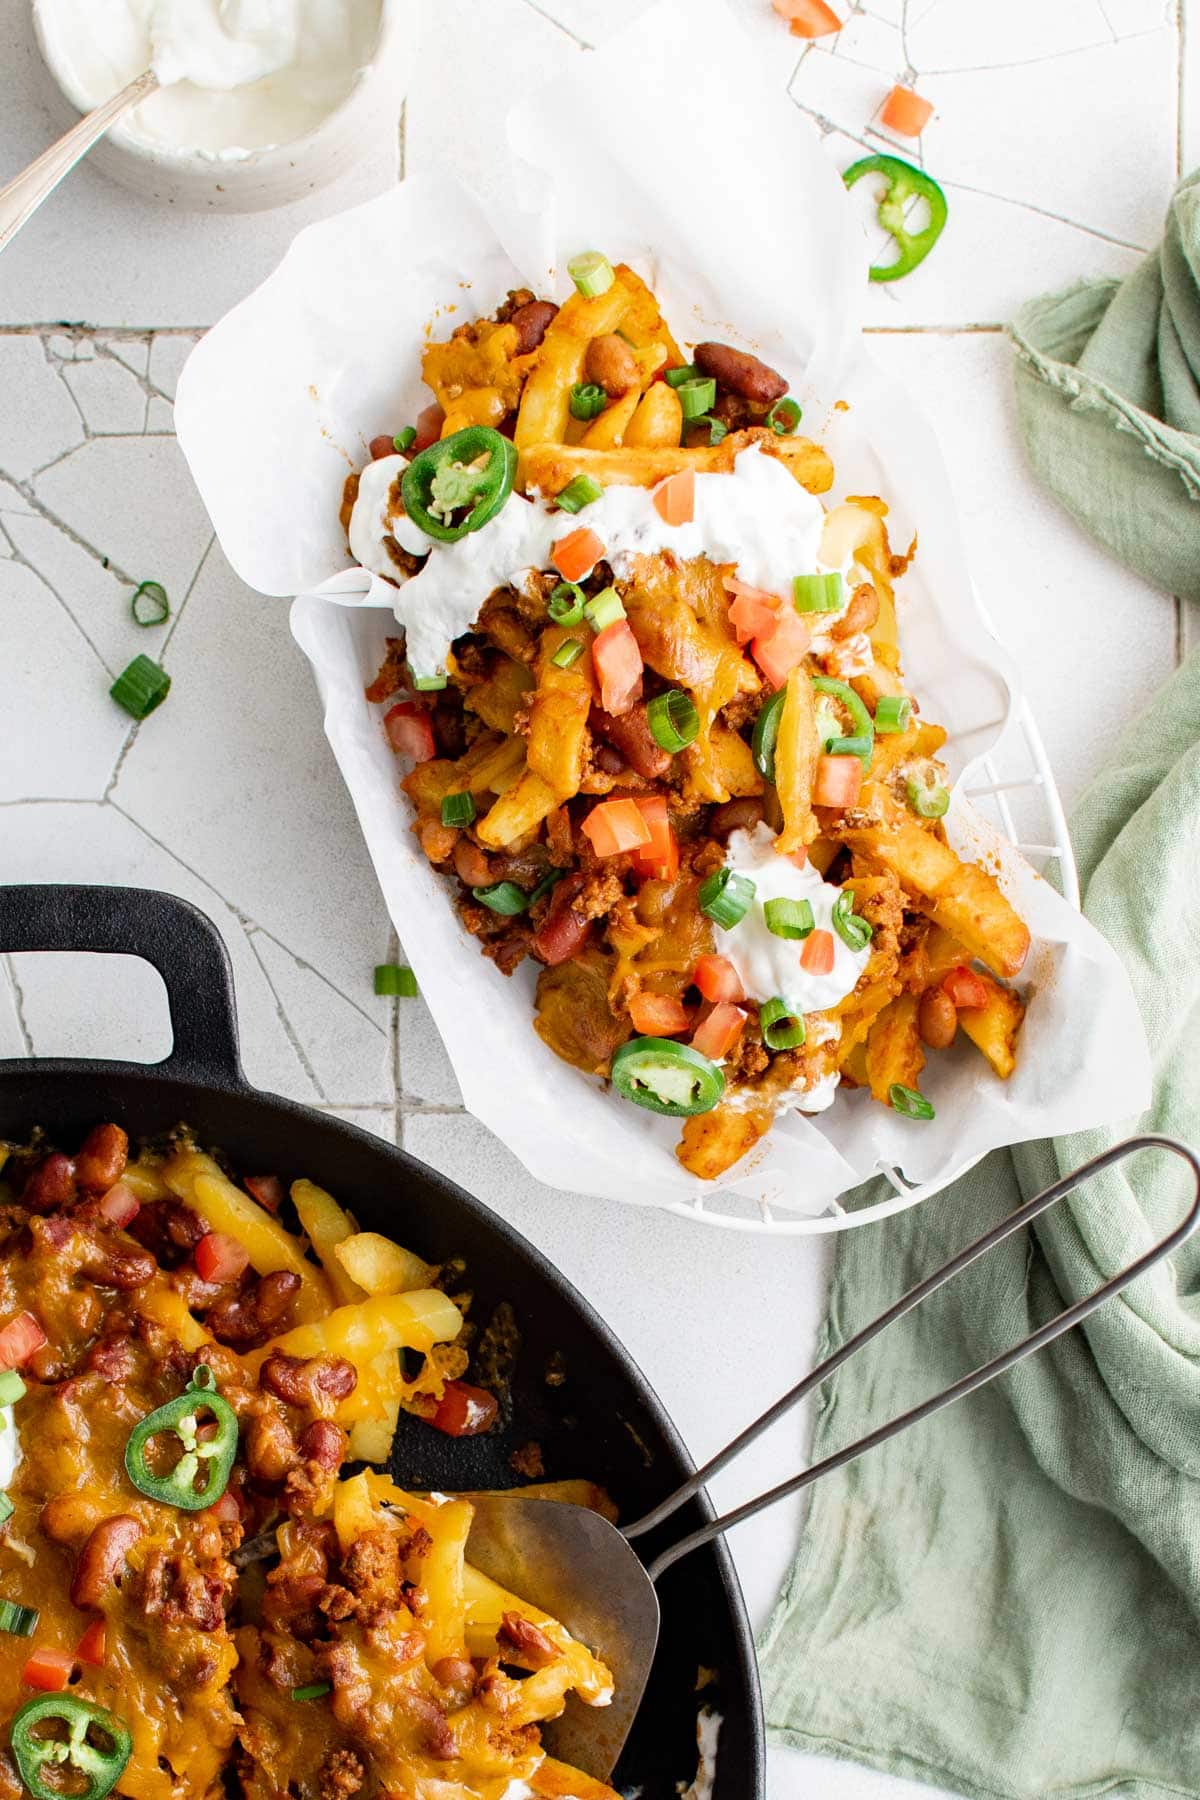
- Serve in a cast-iron skillet for restaurant-style presentation. If you only have a few folks coming over, consider making mini skillets for each guest to have their own!
- Serve on the sheet pan, with some red and white checkered paper trays to give a street fair vibe.
- Keep the extra toppings on the side for guests to serve themselves. I like to use a muffin tin to keep the toppings separate, then slide that into a 9×13 filled halfway with ice water to keep everything chilled.
Variations
Chili + Cheese + Fries = A Winning Meal, no matter how you slice it. That said, there’s always room for customization! Here are a few of my favorite variations to truly load them up with deliciousness:
- Different toppings. I went for a quasi-nachos vibe with my toppings of sour cream, green onions, and jalapeños, but feel free to use any toppings that tickle your fancy. Try a drizzle of ranch dressing, some chopped bacon bits, and pickled red onions. Freshly chopped cilantro is another great topper. Try using queso in place of the cheese, or swap in spicy pepper jack in place of cheddar. These loaded french fries are your culinary playground, so just have fun with it!
- Use tater tots. I’m a fan of all kinds of fried spuds. Feel free to swap in tater tots or even home fries if you prefer.
- Vegetarian. Serving to a mixed crowd? Opt for a vegetarian chili recipe instead.
Storage
- The best chili cheese fries come straight from the oven, so try not to make them until you’re ready to eat them.
- Any leftovers can be kept in an airtight container in the fridge for up to 3 days. If possible, keep the ingredients separate to prevent soggy fries.
- To reheat, place on a parchment-lined tray and warm in the oven at 250F until heated through, about 10-15 minutes.
Expert Tips
- Grate your own cheese. While it might seem like a worthwhile time-saver to grab a packet of pre-shredded cheese, resist the urge. Grated cheese that is sold in bags is coated in a powdery, starchy anti-coagulating substance to keep it from melding back into a blob in the bag. All that extra *stuff* keeps the cheese from melting properly. If you’re looking for a shortcut, bust out your food processor with the grating attachment to make quick work of shredding the block.
- Use a slotted spoon. One of the best parts about loaded french fries is the variety of flavors, textures, and temperatures you can get in one bite. To keep the fries crispy on the outside and fluffy on the inside, make sure to only grab the flavored meat and beans from your chili, leaving any soupy remnants for another use.
- Make a big batch of chili to get two (or more) meals out of it. You don’t have to use an entire batch to make these loaded fries super tasty, so parse it out as you see fit. It’s a great way to use up leftover chili, too!
More Cheesy Recipes
If you’ve made this recipe, please come back and leave us a star rating or a comment below.
Loaded Chili Cheese Fries
Chili cheese fries are perfect for sharing or for a late night snack. Crispy fries topped with homemade chili, cheese, sour cream and more!
Prep Time 10 minutes
Cook Time 25 minutes
Total Time 35 minutes
Ingredients
Chili
- 1 pound ground beef use 90/10
- 1 small onion diced
- 2 garlic cloves minced
- 1 tablespoon chili powder
- 1 tablespoon smoked paprika
- 1 teaspoon cumin
- 1 teaspoon black pepper
- 1/2 teaspoon salt
- ½ cup beef broth
- 15 ounce can tomato sauce
- 15 ounce can kidney beans drained and rinsed
- 15 ounce can pinto beans
Fries
- 32 ounce bag of frozen french fries thin and crispy, crinkle cut or waffle fries
- 3 cups Freshly grated sharp cheddar cheese
- Toppings: Sour cream, sliced green onions, diced tomatoes, sliced jalapenos
Instructions
- Arrange frozen fries on a large baking sheet and bake according to package directions until they are nice and crispy. When the fries are done, remove the pan from the oven, season fries with salt, and set aside. Turn the oven down to 400 degrees. *Note – for crispy fries, bake directly on the metal baking sheet.
- Meanwhile, make the chili. Heat a large pot over medium-high heat and add a tablespoon of olive oil. Add the onions and saute for a couple of minutes, stirring frequently until they begin to soften.
- Add the ground beef and cook, crumbling with a spatula, until no longer pink. Drain excess grease if needed.
- Add garlic, chili powder, paprika, cumin, black pepper and salt. Stir to evenly distribute the seasonings, and continue to cook for 1-2 minutes.
- Pour in the beef broth and tomato sauce and bring to a boil, stirring occasionally and scraping up any bits stuck to the bottom of the pot.
- Stir in kidney beans and pinto beans and continue to simmer for 5-10 minutes to thicken.
- Line another baking sheet (or the same one) with parchment paper (prefered) or foil. Or you can transfer fries to a large, oven-safe skillet for a restaurant style presentation. Arrange the fries close together on the baking sheet. Sprinkle on 1 cup of the shredded cheese and bake for 2-5 minutes, just until the cheese is melted. Remove the pan from the oven.
- Using a slotted spoon to drain any excess liquid, spoon chili onto the fries. Top with remaining cheese and bake again for 5-7 minutes, or until the cheese is melted. *Note – use as much or as little chili as you like and save the rest for another time.
- Top with sour cream, sliced green onions, diced tomatoes and sliced jalapenos.
Nutrition
Calories: 909kcalCarbohydrates: 76gProtein: 41gFat: 51gSaturated Fat: 21gPolyunsaturated Fat: 3gMonounsaturated Fat: 21gTrans Fat: 0.5gCholesterol: 106mgSodium: 2160mgPotassium: 1631mgFiber: 16gSugar: 6gVitamin A: 1849IUVitamin C: 17mgCalcium: 505mgIron: 7mg